Mold and Microgreens: What We Learned the Hard Way in Our Ocala Greenhouse
How we keep mold and algae out of our microgreens trays. A practical guide from our Ocala greenhouse, learned the hard way.

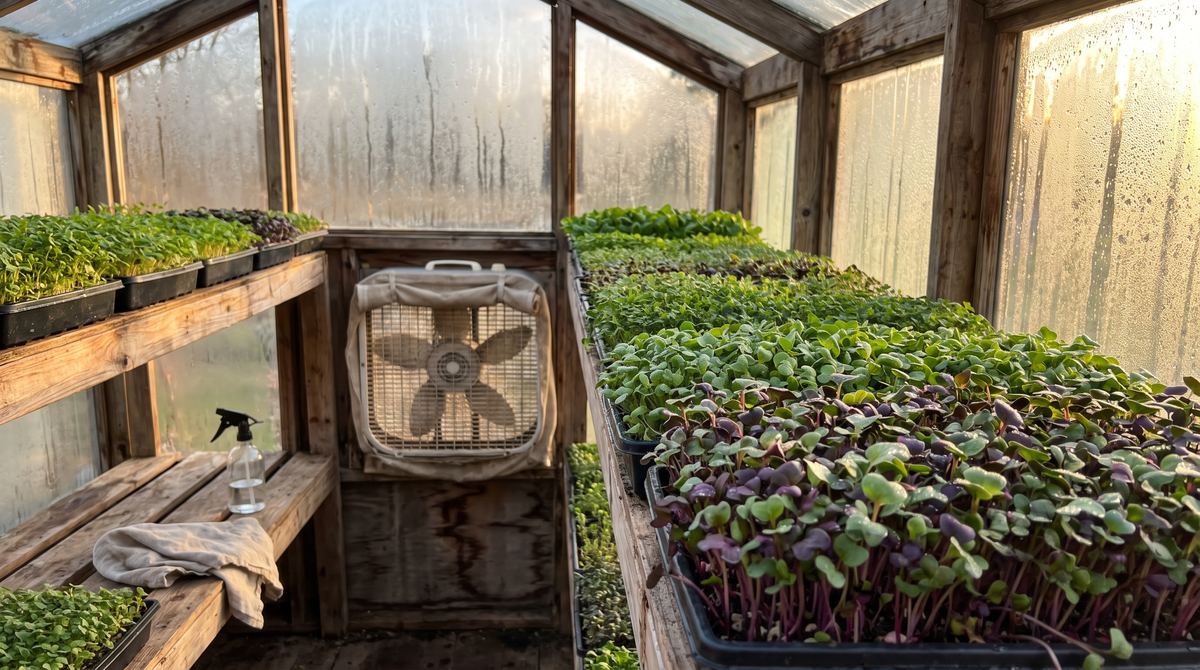
A few of you have asked how we keep mold and algae from showing up around our microgreens. It's a good question, and the honest answer is that we learned most of it by getting it wrong first.
Shirley and I started growing in my dad's backyard. No fan, no airflow plan, just trays and enthusiasm. We watered like crazy in the Florida heat, and within a week we had a science experiment on our hands. Gray patches crawling across trays we'd been babysitting for days. That was the lesson that stuck. Once we got airflow and watering balanced, the mold problems disappeared almost overnight. Not from a product or a secret formula. Just air and common sense.
Why Mold Loves Your Greenhouse
Mold spores love two things: moisture and still air. When you grow in an outdoor greenhouse in Ocala, you get both without trying. The warm, humid air sits on the trays, the air goes still, and spores settle in. Every surface in your growing area, shelves, trays, floors, walls, even the ceiling, can collect tiny spores over time. Wiping them away before they grow keeps your microgreens safer.
The fix isn't complicated. It's just keeping things clean and dry, and keeping the air moving.
Our Cleaning Routine
Shirley cleans the greenhouse every two weeks. If you can manage weekly, do that. Here's the process she follows:
First, take everything out. Trays, racks, tools, all of it. Every surface needs to be accessible.
Sweep away soil, seed hulls, and debris. Use a hose or damp mop to get rid of visible dirt.
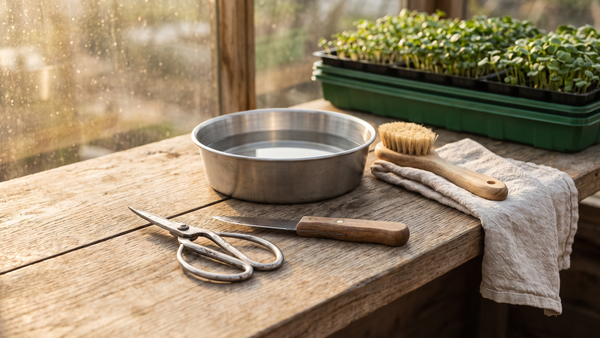
Then scrub. Mix one tablespoon of unscented household bleach per gallon of water. You can also use a food-safe hydrogen peroxide sanitizer at 3% strength. Wear gloves, make sure the area is ventilated, and scrub the floor, shelves, walls, and ceiling. Don't skip the ceiling. Spores settle up there too.
Rinse with clean water and let it dry completely. A box fan or a barn fan helps here. Once it's dry, check for spots you missed, then put your clean trays and tools back.
Prevention Is Daily Work
Cleaning is the big reset, but prevention is the daily habit that matters more.
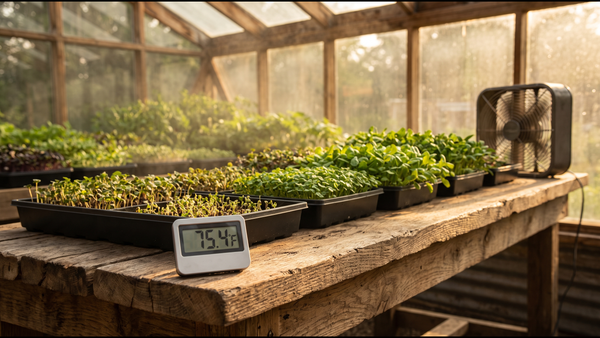
We run a fan most days. Good ventilation is one of the most important defenses against mold. Still air is where problems start. Wiping down shelves, trays, and counters between cleanings makes a difference too.
Always check your grow medium before you use it. Every now and then we'll find mold forming in a batch that just sprouted. When that happens, we don't take chances. We toss it and start fresh.
Moisture control matters as much as airflow. A dehumidifier is worth the investment, especially in a humid climate like ours. During the cooler months, we use small propane heaters on low to keep the greenhouse warm. But even then, we keep the air moving. Warm air without airflow encourages mold just as easily as humidity does.
Bottom Watering: Your Best Defense Against Mold
This is the part that trips up a lot of new growers. When your seeds sprout, the instinct is to keep misting the tops. Don't. Misting from above leaves water sitting on the leaves and stems, and in a humid climate like ours, that's an open invitation for mold.
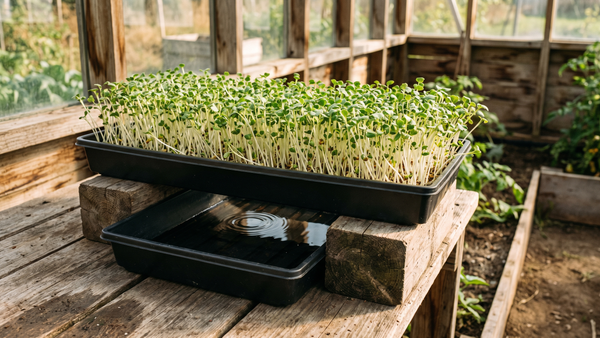
Bottom watering is the fix. Set your tray inside a shallow dish with about half an inch of water. Let the soil soak from the bottom up for a few minutes, then drain any excess. The roots get what they need, the stems stay strong, and the leaves stay dry.
That's the key difference. Bottom watering keeps the surface drier than overhead spraying, and a dry surface is the last thing mold wants. We switched to bottom watering early on, and it made a bigger difference than anything else we tried.
A few practical notes. Don't let the tray sit in water for more than a few minutes. Damp soil is perfect. Soggy soil is trouble. You want the roots to drink, not drown. And keep checking your trays each day. The color, smell, and texture of your greens will tell you if they're happy. Bright, upright shoots and a clean earthy scent mean you're on track.
Reading Your Tray
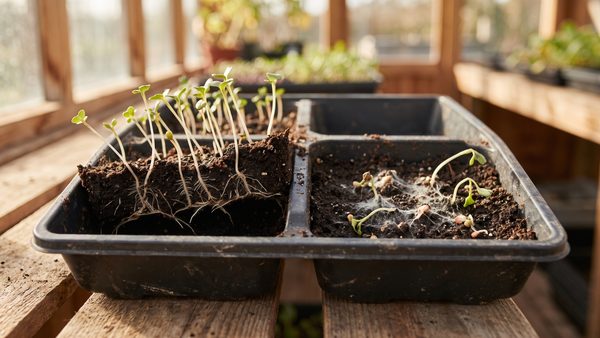
Here's something that trips up new growers. In the first few days after sprouting, you'll see what looks like tiny white fuzz near the base of the stems. Don't panic. That's not mold. Those are root hairs, and they help your plants absorb water.
Real mold looks different. It tends to be grayish and sometimes smells musty. If it looks like cobwebs or smells off, it's time to take action. Remove the affected area, let the tray dry slightly, and run your fan a little longer each day.
Microgreens like moisture, but not constant wetness. That's the balance you're chasing. You'll get the hang of it fast. The plants will teach you what they need if you watch closely.
What Else Matters Beyond Cleaning
Cleanliness is the foundation, but it's not the whole picture. Proper seeding density matters. Pack trays too tight and the plants can't breathe between stems. Ventilation matters. A fan running steadily does more than a clean shelf you forgot to wipe down.
All of it works together. Skip one piece and the others have to work harder to compensate.
Final Thoughts from Wilshires Organics
Mold prevention isn't about one product or one trick. It's about airflow, cleanliness, and moisture control done consistently. Clean tools, clean trays, moving air, and controlled watering prevent most of the problems before they start.
If you're just starting out, don't get discouraged when you lose a tray. We lost plenty. The difference between people who quit and people who get good at this is just willingness to adjust. Keep your space clean, keep the air moving, and watch your trays. The rest follows.
If you ever have questions about your setup, reach out. We like hearing from other growers.
Want fresh-cut microgreens this week? We harvest to order in Ocala and have them ready for pickup. See what's available and reserve your tray.