Stop Guessing at Harvest Time: How to Know When Microgreens Are Ready
Learn the leaf-stage signs that show when microgreens are ready to harvest, plus practical checks for height, moisture, color, and a clean cut.

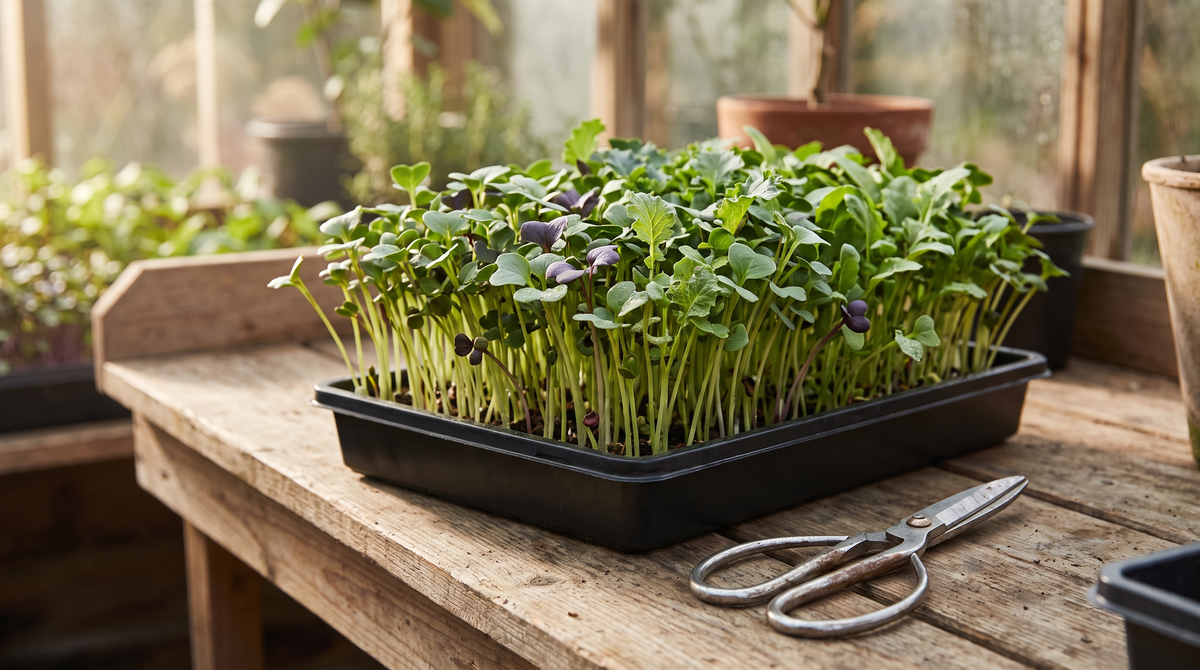
Microgreens don't all reach harvest on the same day. Even two crops planted together can develop on different schedules. A date on the calendar can help you know when to start looking, but the leaves tell you more.
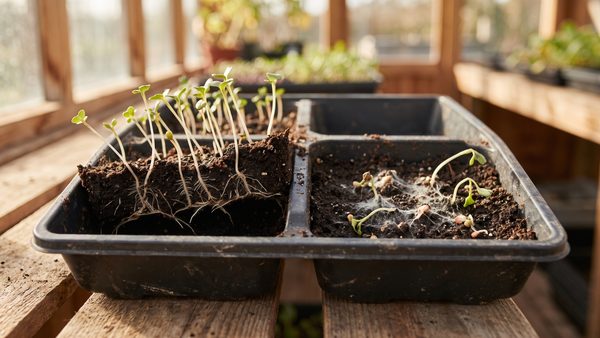
Start with the seed leaves, also called cotyledons. They should be open and fully expanded. Then look at the center of the plant for the first true leaf, which usually has a different shape. Depending on the crop and your harvest goal, the useful harvest band runs from expanded cotyledons into early true-leaf emergence. It isn't one exact moment for every variety.
Check the Leaf Stage First
Penn State Extension describes microgreens as ready when the cotyledons have fully developed and the first true leaves have emerged. University of Florida IFAS Extension allows a slightly wider window, at the cotyledon stage or just as the first true leaves emerge. Utah State University Extension says harvest can begin when true leaves appear, or sooner.
That guidance gives growers a crop-dependent developmental band, not a rigid deadline. At the tray, use a simple check:
- Are the paired seed leaves open and fully expanded?
- Is a differently shaped true leaf visible or beginning to open in the center?
- Does that stage fit the harvest goal for this particular crop?
Days can still help as a planning tool. They just shouldn't overrule what the plant is showing. Penn State gives a broad range of 7 to 21 days after germination, depending on species and growing conditions. Utah State's February 2025 guide estimates 6 to 8 days for arugula, 9 to 10 for sunflower, 12 to 16 for basil, and 21 to 28 for cilantro. Those are estimates from that guide, not universal schedules or Wilshires harvest times.
Use Height and Color as Supporting Clues
Height is a secondary, crop-specific cross-check. Extension sources don't give one shared number. University of Kentucky says many microgreens are approximately 1½ to 2 inches at the first true-leaf stage. Florida IFAS describes harvest at about 2 inches, while Iowa State University Extension says most are approximately 2 to 3 inches when harvested.
Those ranges overlap, but they aren't identical. Check the leaves before reaching for a ruler. A tall, stretched tray is not necessarily more mature than a shorter, compact tray, so use leaf development as the lead signal.
Color also needs crop-specific judgment. Compare it with what is characteristic for the cultivar. If color or tissue looks abnormal, check growing conditions rather than assuming the crop is overmature. Don't turn one color into a universal readiness rule. Tray uniformity may help with planning, but it doesn't define maturity by itself because species and cultivars can develop at different rates.
A crop log can make these checks more useful over time. Suggested fields include cultivar, sowing date, first-true-leaf date, appearance, height, optional taste or texture notes, and harvest date. Add blackout duration only when that method is used. Consistent photos can also make one planting easier to compare with the next. These are suggestions for building crop-specific records, not a claim about records Wilshires already keeps.
Manage Moisture and Make a Clean Cut
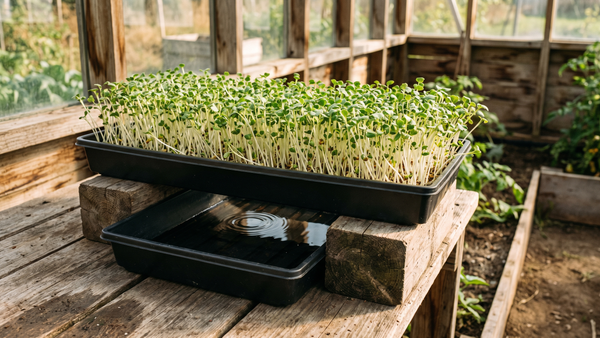
Near harvest, keep the root zone moist without leaving the growing medium continuously saturated. Bottom watering can keep water off the greens and let excess water drain, though the right method depends on the growing system. When practical, favor bottom watering near harvest and let surface moisture dissipate before cutting, without allowing the root zone to dry or the crop to wilt.
None of the sources reviewed for this brief establishes a universal 12- or 24-hour pre-harvest watering cutoff. A fixed withholding interval can ignore differences among crops, trays, and growing systems.
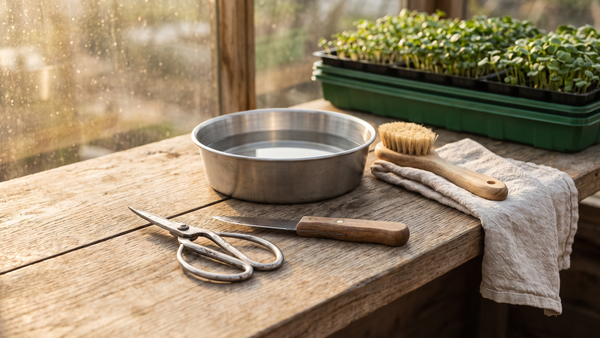
For the cut itself, use clean, sharp scissors or a knife. Start with clean hands and a clean collection container. Cut the stems above the growing medium, high enough to keep particles out of the harvested crop. Clean tools between uses and keep them sharp enough to make a controlled cut.
Washing and storage depend on context. Penn State's home-growing guide recommends fresh drinking water before consumption, but notes that washing can substantially shorten shelf life. It also describes cold storage followed by washing just before use as an option. Follow the food-safety process that fits how the microgreens will be handled and used.
Final Thoughts from Wilshires Organics
Harvest readiness starts with development, not a single date, height, or color. Look for fully expanded seed leaves and early true-leaf emergence, then apply what makes sense for that crop. Use day count, height, cultivar-specific color, and your own records as supporting information.
Once the crop reaches the intended stage, manage moisture for the system you're using and make a clean cut above the growing medium. That approach replaces guesswork with a repeatable check you can use from one planting to the next.
Want fresh-cut microgreens this week? We harvest to order in Ocala and have them ready for pickup. See what's available and reserve your tray.