Stop Guessing at Microgreens: Use One Tray to Learn What to Watch
Use one microgreen tray as a baseline. Learn what to watch, what to record, and how to carry one clear question into your next grow.

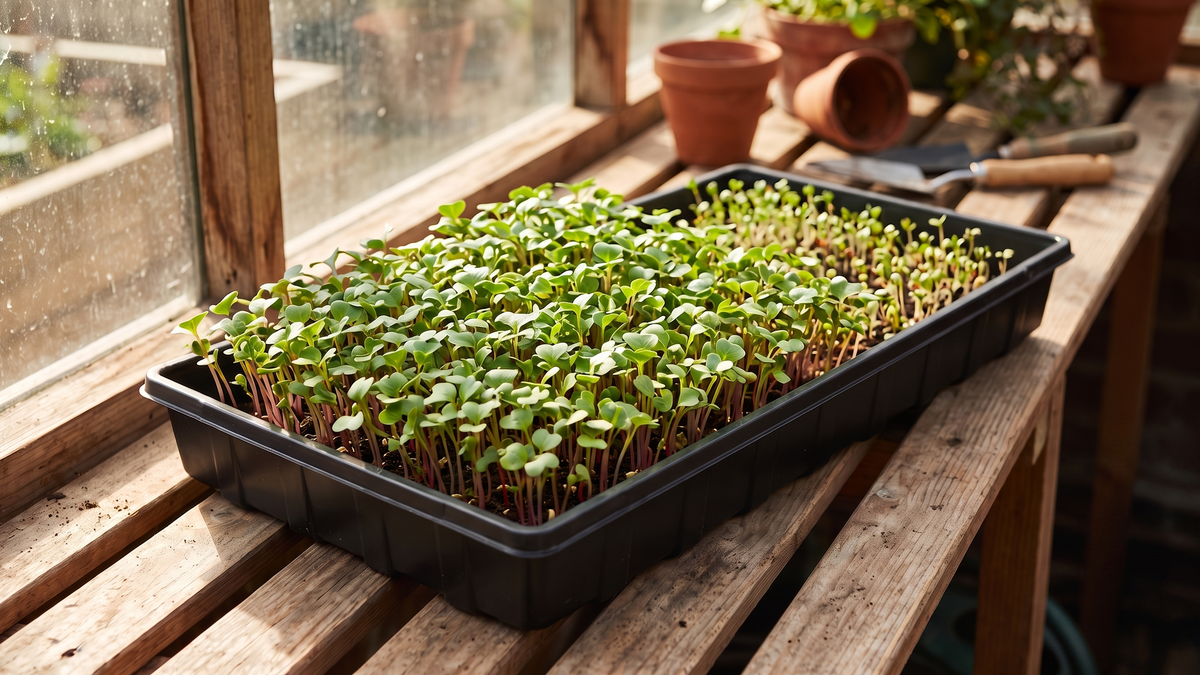
A first tray of microgreens doesn't need to prove anything. It needs to give you something useful to watch.
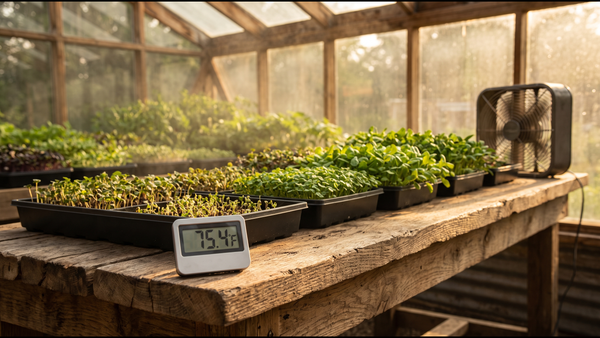
That's a better goal for a beginner than chasing the perfect seed rate, watering routine, or harvest date. One tray can take you through sowing, emergence, light, watering, and harvest. Along the way, you can learn which details deserve your attention and which questions belong on the next tray.
Think of that tray as an observation cycle. You're recording what happened under one set of conditions. You aren't proving why it happened, finding an ideal method, or building a repeatable process from one result.
Keep the setup simple. Use one crop or cultivar in the tray. Different crops can emerge at different times, so a mixed tray makes early patterns harder to read. Write down what you planted and when you planted it. Then watch the tray instead of relying on memory.
Watch Patterns Without Jumping to a Cause
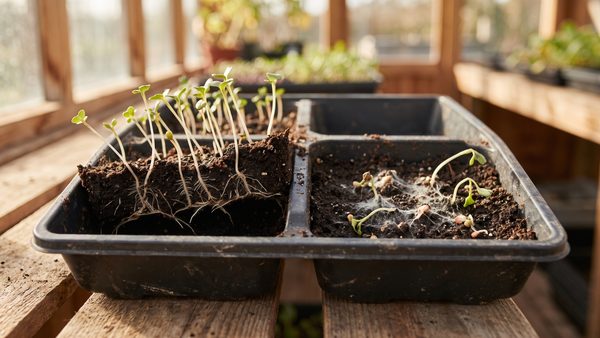
Start with emergence and distribution. Note when seedlings begin to appear and whether they appear broadly across the tray or in patches. Record bare, crowded, wet, or dry zones. Even seed distribution is something you can observe directly, but a bare area doesn't tell you the cause by itself.
Several conditions can overlap, including seed placement, viability, moisture, temperature, the growing medium, and disease. That means one pattern should lead to a question, not a firm diagnosis.
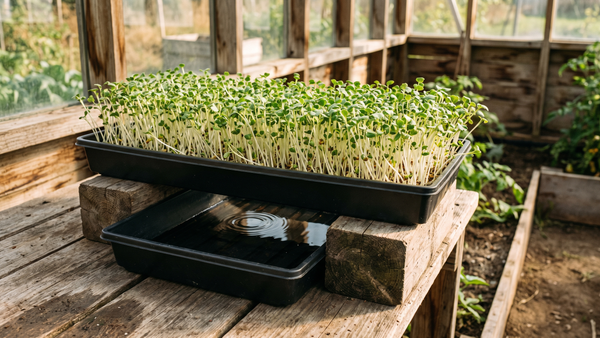
Moisture and drainage belong in the same check. Extension guidance recommends keeping the seedbed moist during germination while avoiding overwatering. A clean, food-suitable tray with drainage holes gives excess water somewhere to go. Bottom irrigation can also help keep leaves and stems drier, but the amount and frequency still depend on the setup.
Look at posture too. Shoots leaning in one direction may be a clue to inspect light placement. It isn't proof that light caused every difference in height or posture. Density, watering, crop choice, temperature, and timing can change at the same time.
The same caution applies to seeding density. Penn State Extension notes that seeding rate varies with germination rate, seed size, soil and air temperature, and light. The rate used in one tray shouldn't become a universal recommendation.
Keep a Short Log You Can Actually Use
A useful tray log doesn't need to be complicated. Record the crop or cultivar, seed amount, tray size, sowing date, first visible emergence, watering events, light start, wet and dry zones, drainage, leaning direction, first true-leaf appearance, and harvest date. Take photos from a consistent angle so later comparisons are easier.
Leaf stage matters because crops don't all follow the same clock. Iowa State and Utah State extension guidance use first true-leaf appearance as a common harvest cue, while exact readiness varies with the crop, cultivar, conditions, and the result you want. Record elapsed time, but let development tell you when to inspect more closely.
When the tray is finished, write one observation and one question. For example, you might record that emergence was less even in one zone, then ask whether seed distribution should be checked more carefully next time. Keep the language honest. You saw a pattern. You didn't prove its cause.
For a later comparison, you can change one planned variable while keeping the rest of the setup as consistent as practical. This advice is a cautious transfer of general research-design principles, not a published beginner microgreen trial method. Utah State Extension's on-farm research guide explains why controls, consistent measurements, repeatability, and replication matter when making stronger conclusions.
Start Clean and Keep Safety Claims Modest
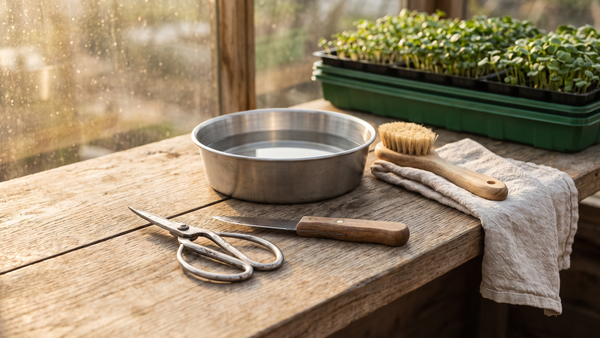
Observation doesn't replace prevention. Start with clean, food-suitable containers, drinking water for wetting and washing, clean hands and instruments, and a clean sharp harvest tool. Manage excess moisture and keep drainage working.
A tray's appearance can't verify microbial safety. Clean handling and applicable preventive practices matter, but they don't support a promise that food is pathogen-free. The point of the first tray is to build better habits, not to turn appearance into a safety test.
For practical home-growing guidance, see Penn State's step-by-step microgreens guide and Iowa State's guide to growing microgreens.
Final Thoughts from Wilshires Organics
One tray can teach you what to notice: emergence, distribution, wet and dry zones, drainage, leaning direction, and leaf stage. That's enough for a solid start.
Treat the tray as a baseline, keep a short log, and carry one clear question into the next grow. You'll learn more from careful observation than from forcing one tray to give you a final answer.
References
- Penn State Extension: A Step-By-Step Guide for Growing Microgreens at Home
- Penn State Extension: Growing Microgreens
- Iowa State University Extension: How to Grow Your Own Microgreens
- Utah State University Extension: On-Farm Research Guide
Want fresh-cut microgreens this week? We harvest to order in Ocala and have them ready for pickup. See what's available and reserve your tray.